
I just loved creating this card. I haven't used my Pretties Kit (pg. 175 of Spring/Summer Idea Book & Catalog) enough so I decided to die the flowers by watercoloring them.

Here you go!
Step 1 – Cut your Kiwi Kiss card stock to 4 1/4 x 5 1/2 inches, the designer series paper in the middle is 5 1/2 inches long and 3 inches wide. The Very Vanilla card stock was cut in 1 inch pieces to punch, but if you haven't used the eyelet punch yet I would do 1 1/2 to 2 inches. Most of it will go under neath the designer series paper anyway.
Step 2 – Get out your Stampin' Dimensionals, Snail Adhesive, Reinkers: Baja breeze, Kiwi Kiss and So Saffron. And Classic stamp pads of the same colors. You will open your lids and use them as an ink well. Also get out the Largest Flower, middle sized flower and whatever small flower you prefer from the Pretties Kit along with a large Rhinestone Brad from the kit. Be sure to cover and protect your work surface.


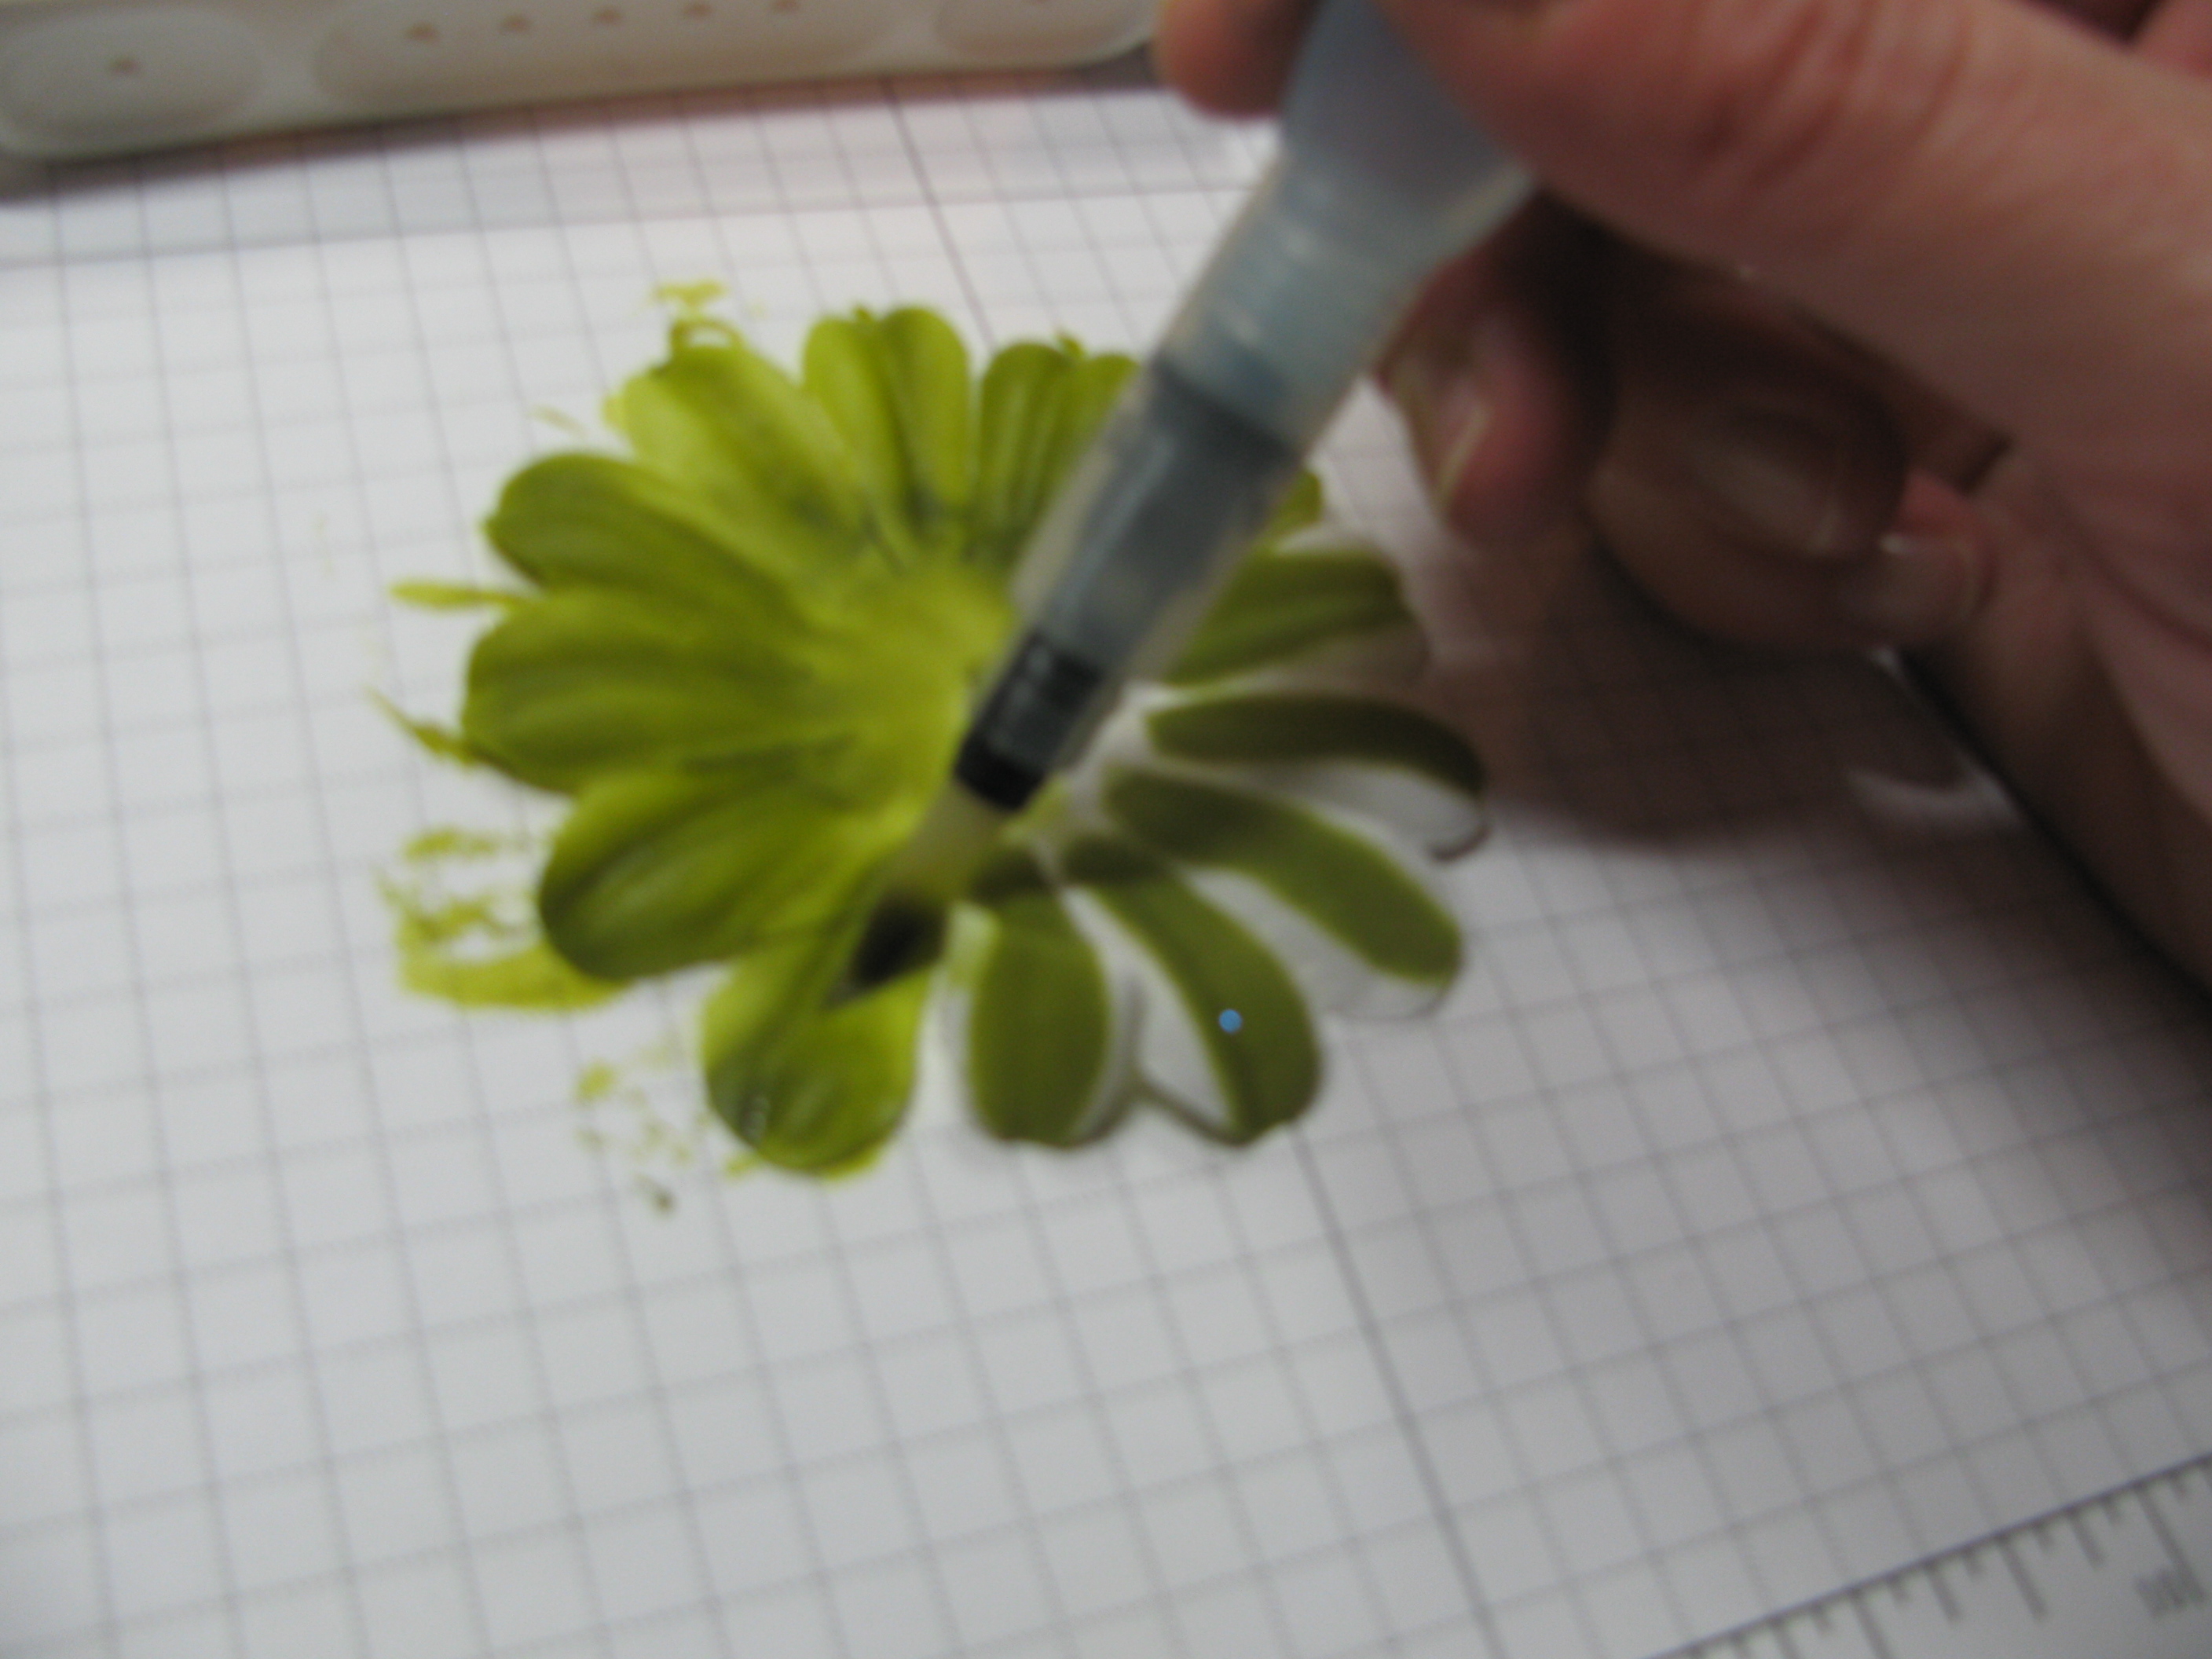
After putting the Kiwi Kiss Reinker in the lid of the Stamp Pad get out your largest flower. Here you will take your Aqua Painter and begin painting your flower. If it gets to dark on your flower then squeeze more water out onto the flower without ink on it and gently "brush away" the excess color. Using the reinker provides a more bold look. If you want a more subtle look you could probably use the ink pad to draw the color from. Here I am beginning to paint the largest flower.

Here is how I shaded and provided more color for the flower. Do not pick up the flower when you are done. They are wet and need to dry a little bit before you put them on the card. Your hands also might get really inky!


Leave the flower in place to dry.

Don't Forget to Wipe off the color from the Aqua Painter before you change colors.

Next move onto the middle flower (here I'm using Baja Breeze) and complete the same steps.


Repeat the same process with the So Saffron and the smallest flower


Next get out your paper.

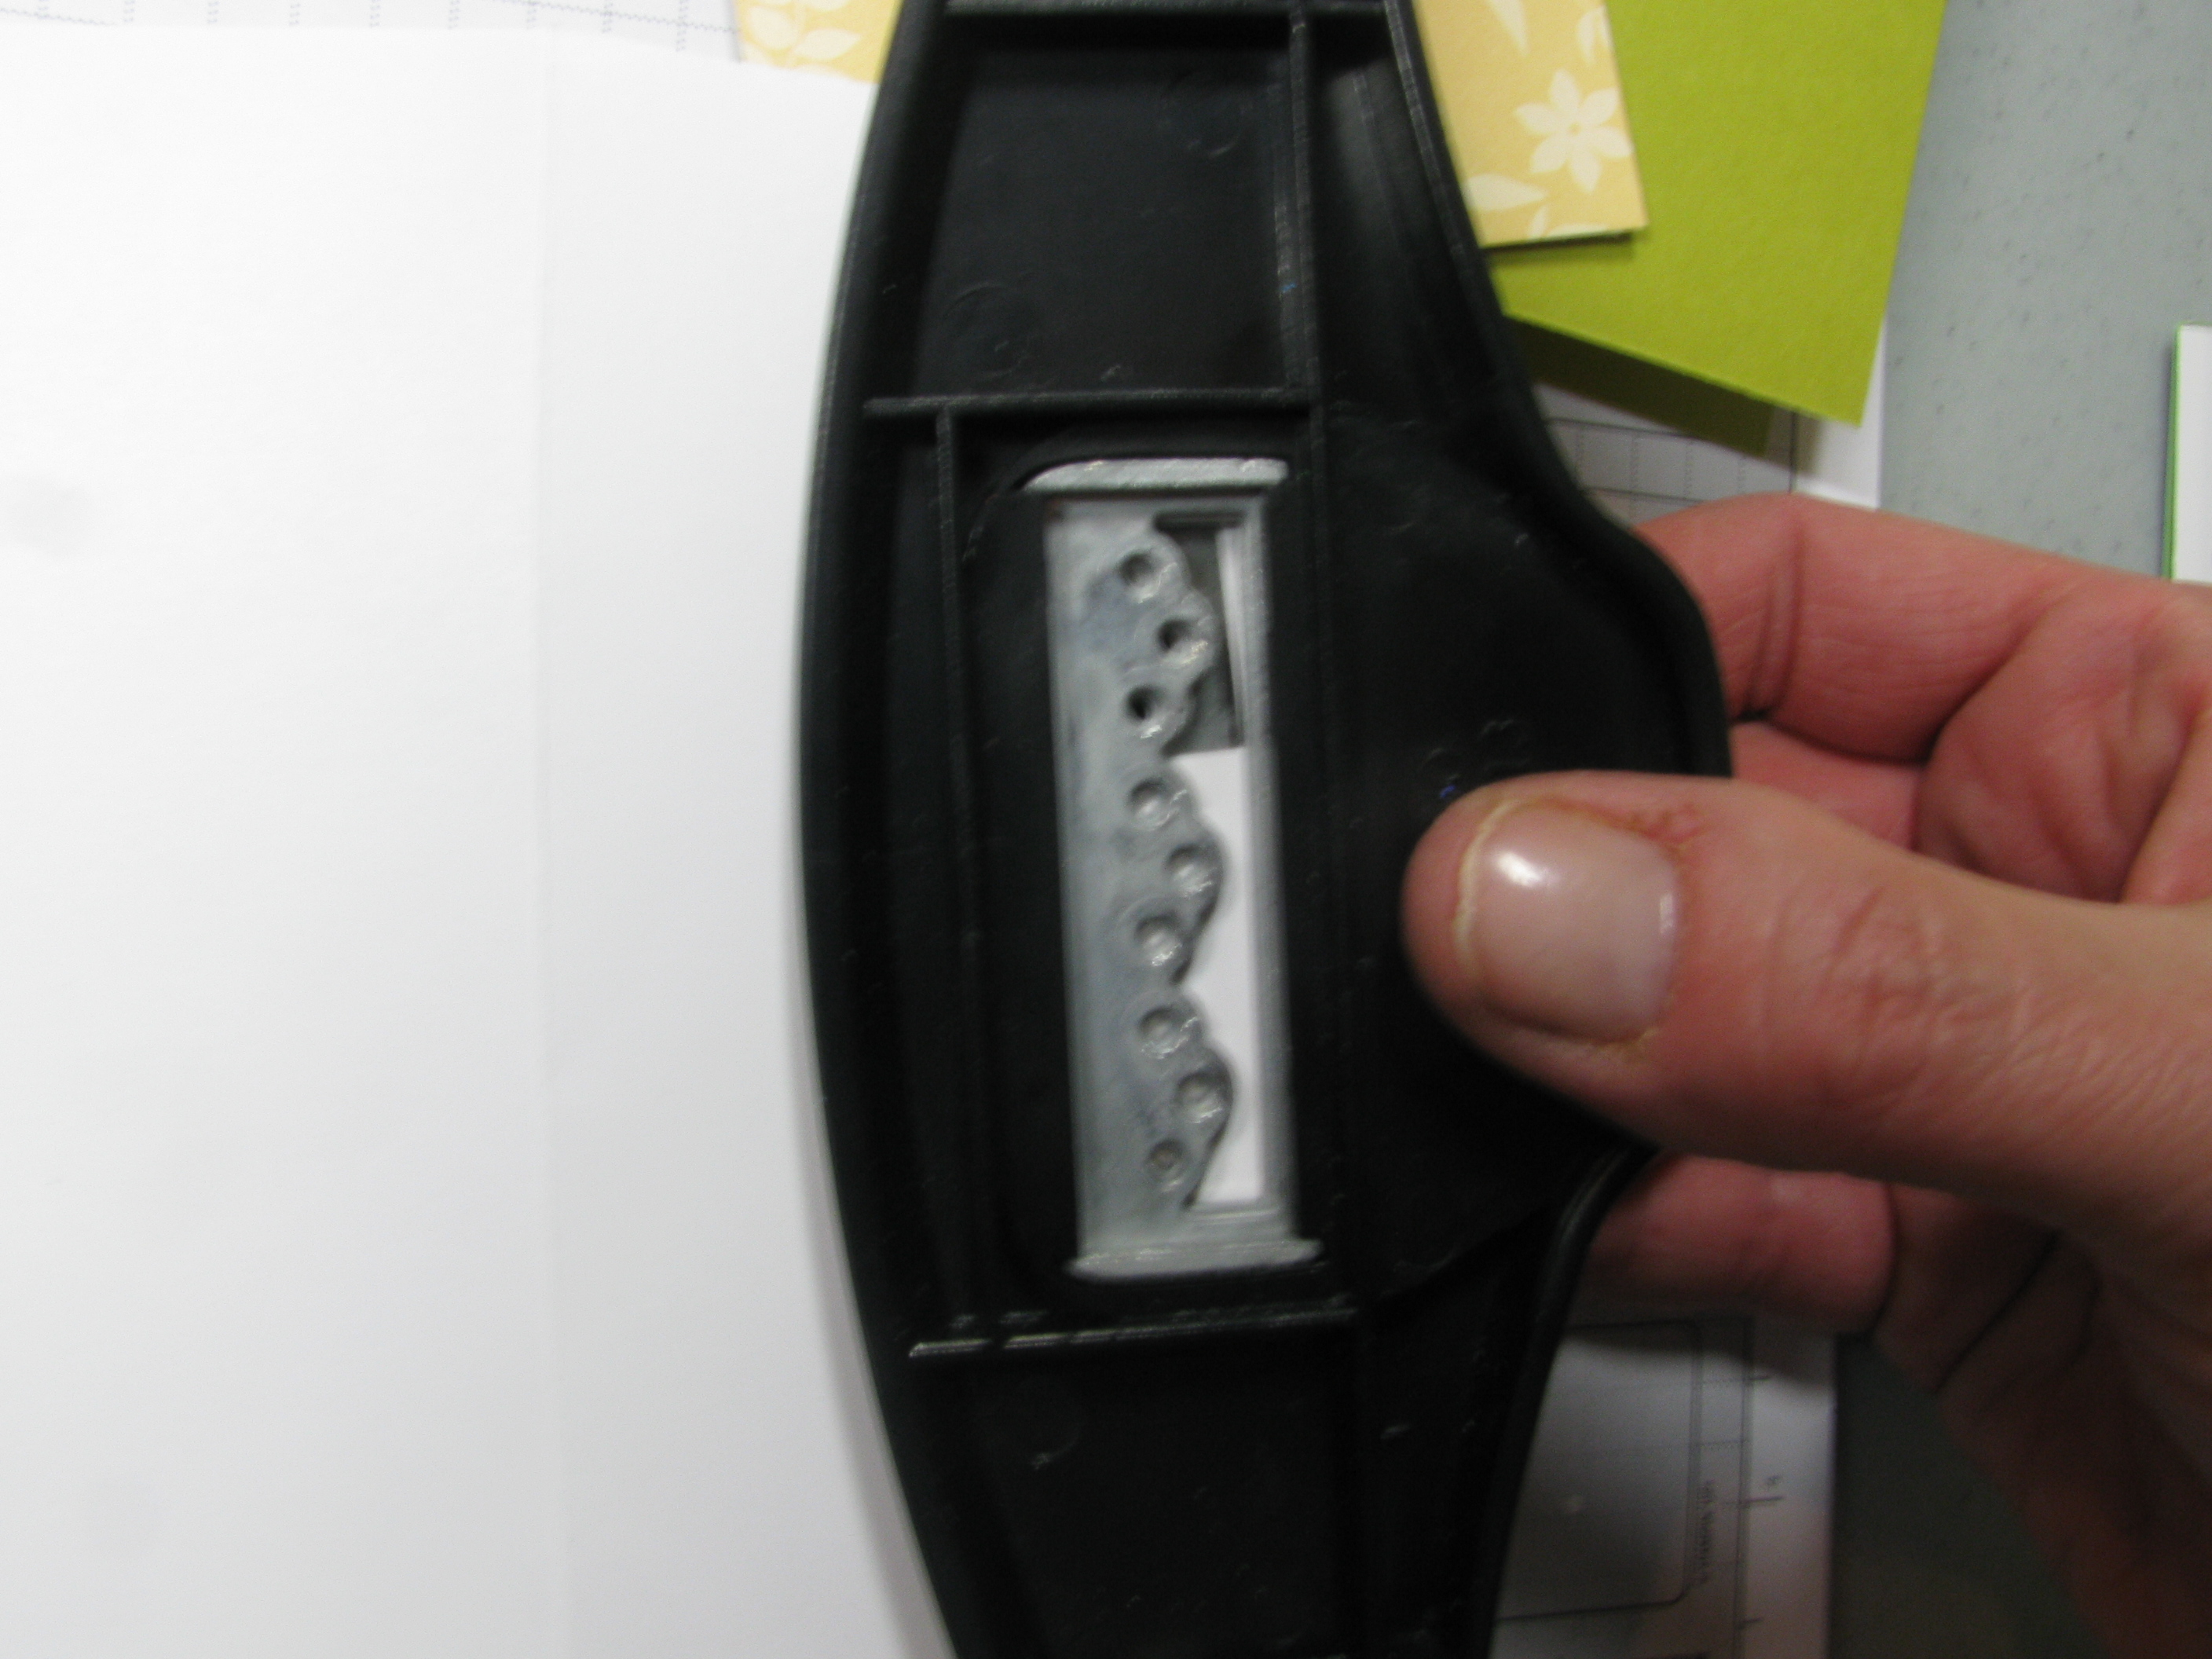
And your Eyelet Border Punch
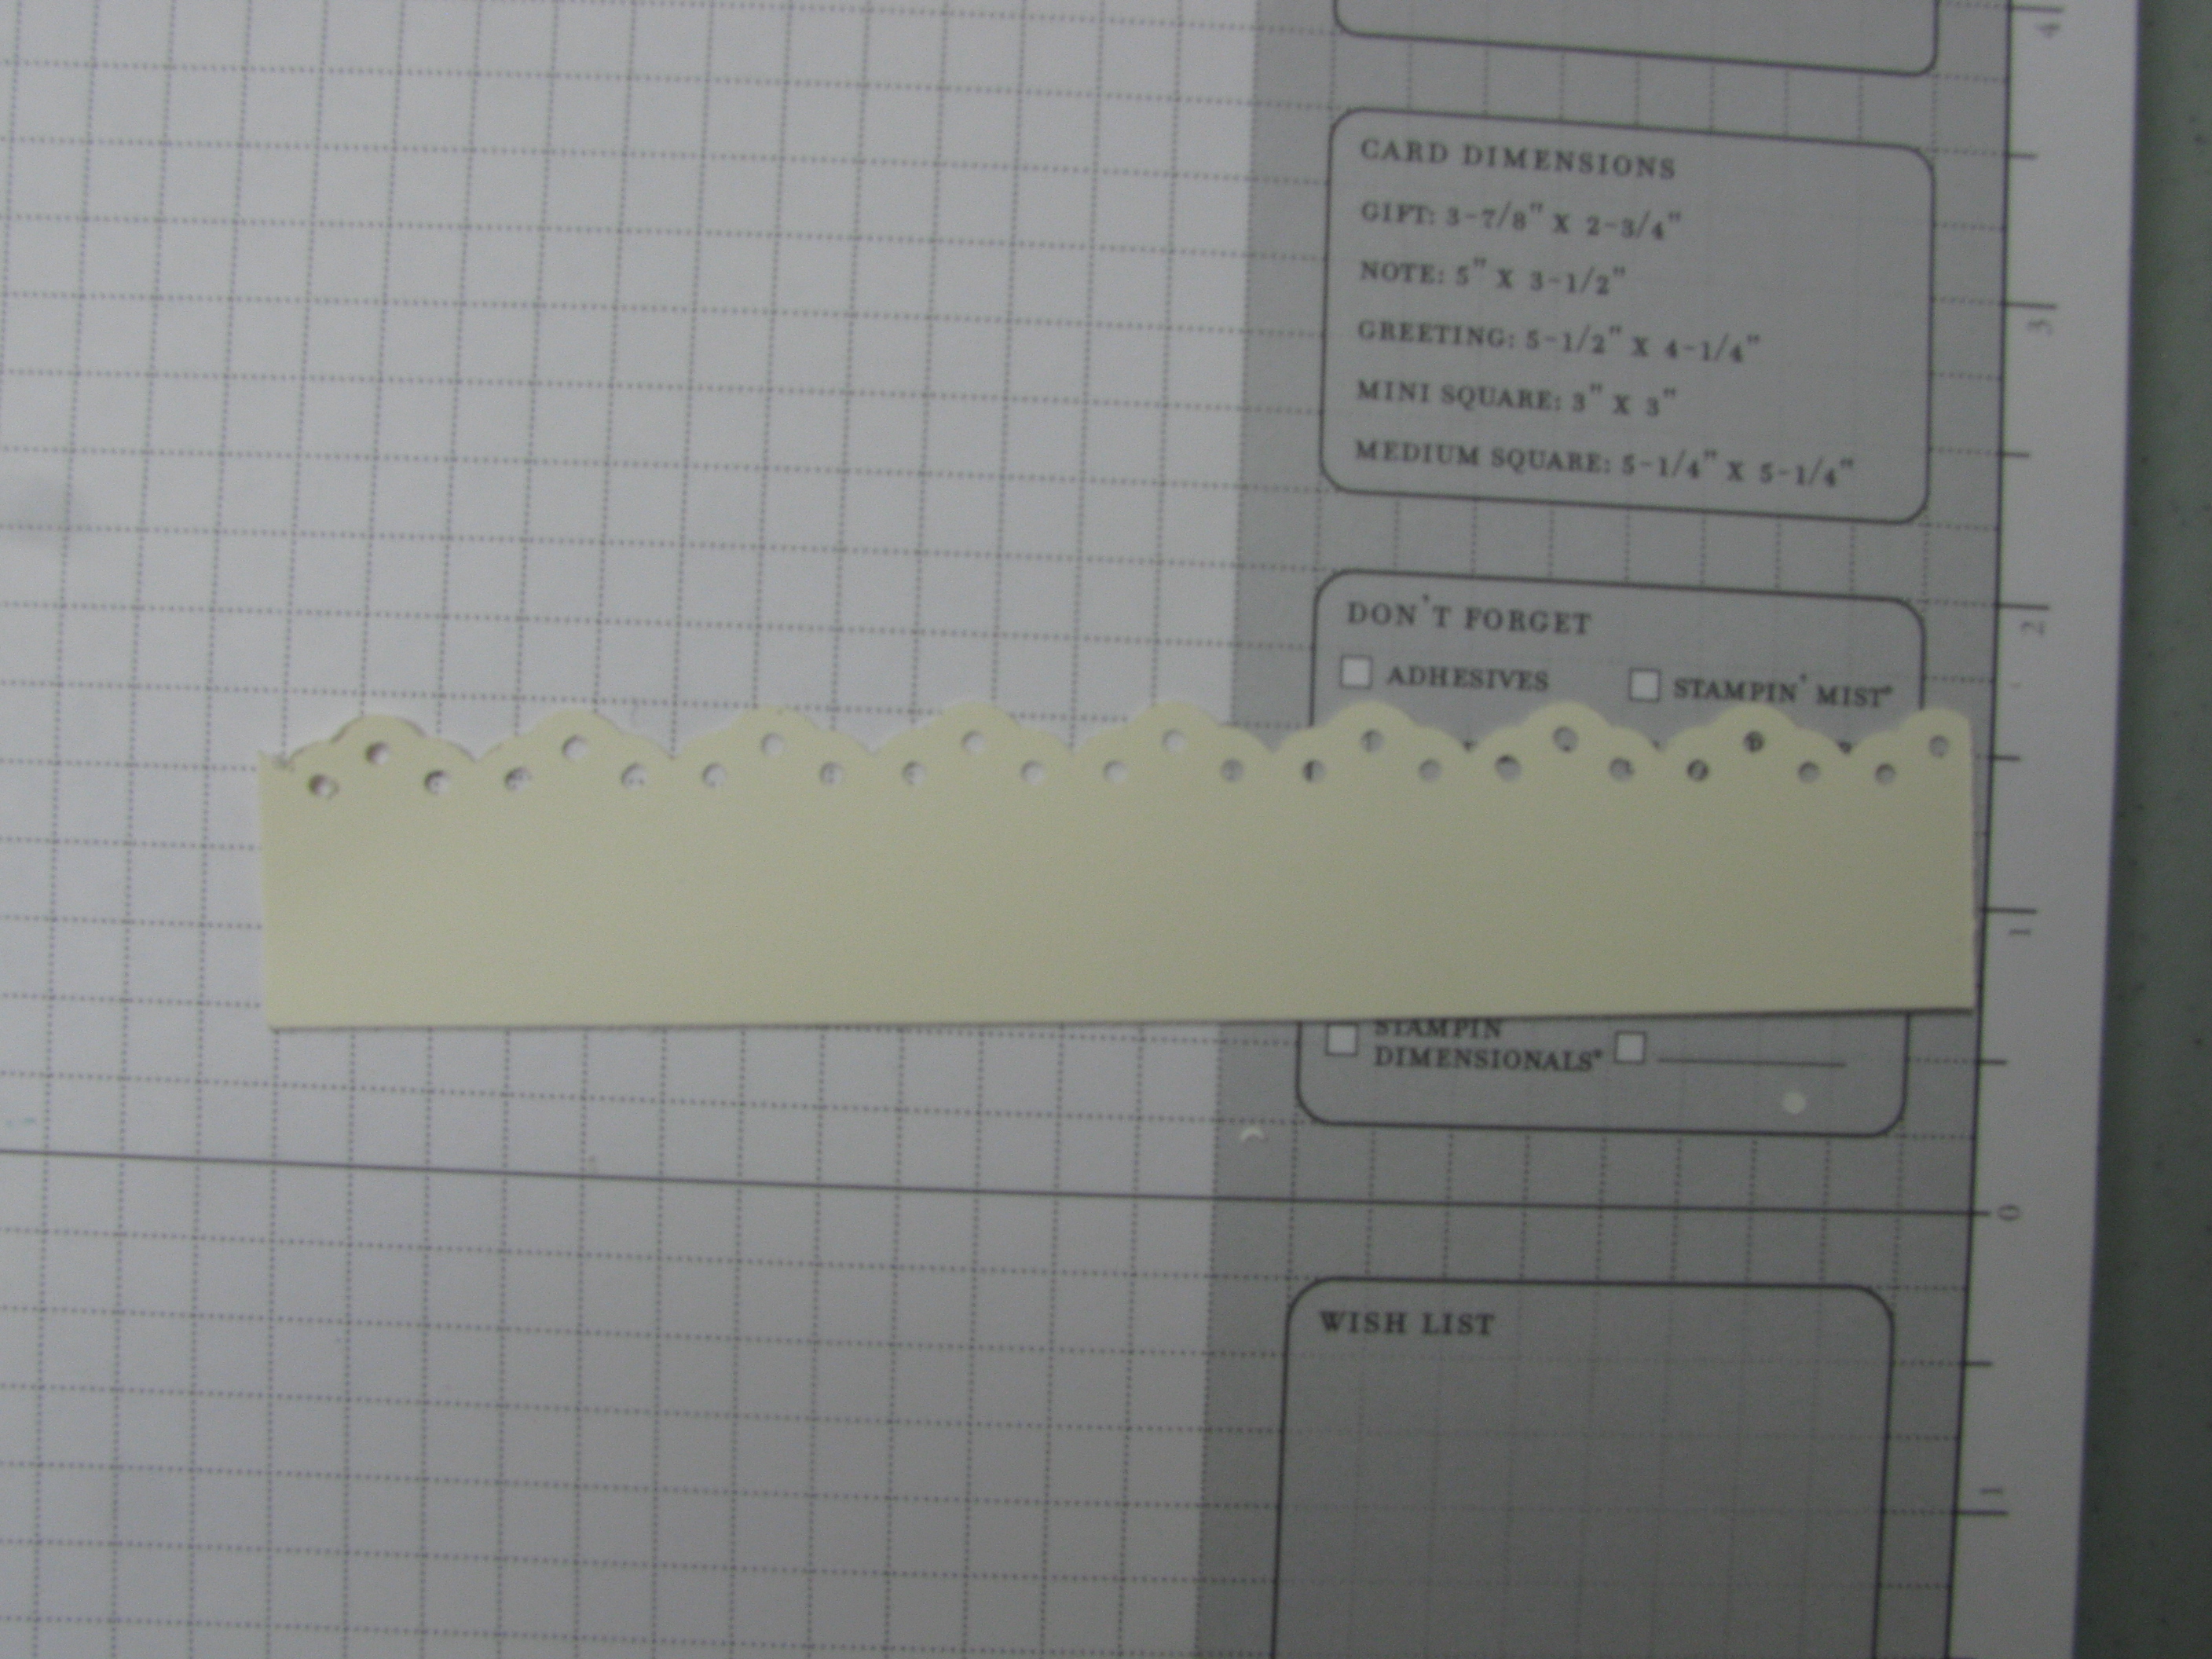
 I prefer to use the eyelet punch like this. To start put your Very Vanilla Card stock into the punch and put the edge of the paper in the middle of a scallop as shown above. Then punch out. You will move the paper up (or down) depending which way you prefer and line up the holes of one that is already punched out with two that still need to be punched out. I hope that makes sense. This is what it will look like when your done.

Next assemble your card.


Next adhere the designer series paper with the eyelet scallop to the Kiwi Kiss card stock. Next you will take the rhinestone brad and put it through the flowers. Be sure the flower are dry though. My So Saffron wasn't quite dry when I did this and it picked up some blue.

Next, attach to the card with a Stampin Dimensional. OPTION: If you want to attach the flower to the card using the brad, then be sure you punch a whole through the Designer Series Paper where you want the flower and then put the brad through the flower pieces when that is done, then you can attach to the card.

Next place your flower on the card stock.

Now take your Kiwi Kiss Stamp pad and Stamp your greeting, in this case it's Easter Wishes from the "All Holidays' stamp set on page 32 of the Spring/ Summer 09 Idea Book and Catalog.

Next take your Large Oval Punch (pg. 184 of Spring/ Summer 09 Idea Book & Catalog) and turn it up side down, then place your paper inside so you can see the greeting. The great thing about punches is it doesn't matter if you stamp crooked or not! 🙂
Once you have the greeting in the punch the way you want it, punch out the greeting.

Next take your NEW SCALLOP OVAL PUNCH (pg. 8 of the Occasions Mini Catalog April 1, 2009 to June 30, 2009) and punch out your designer series paper. In this case I used paper from the Sunshine Garden Simply Scrappin Kit.


Layer your Easter Wishes (or other greeting) on top of the Scallop Oval. Then adhere a stampin dimensional to the back and put it on the card.


YOUR DONE! Let me see your creations!
Are you on Facebook yet? If so LIKE OUR PAGE @ 1st Class Creativity BY CLICKING HERE


